
Yoga
Warrior II for Stiff Bodies: Foot Position, Setup, and Fixes
Build a workable Warrior II without forcing a deep stance. Learn where to place your feet, how to adjust your knee bend, and which common mistakes to correct.
September 25, 2026
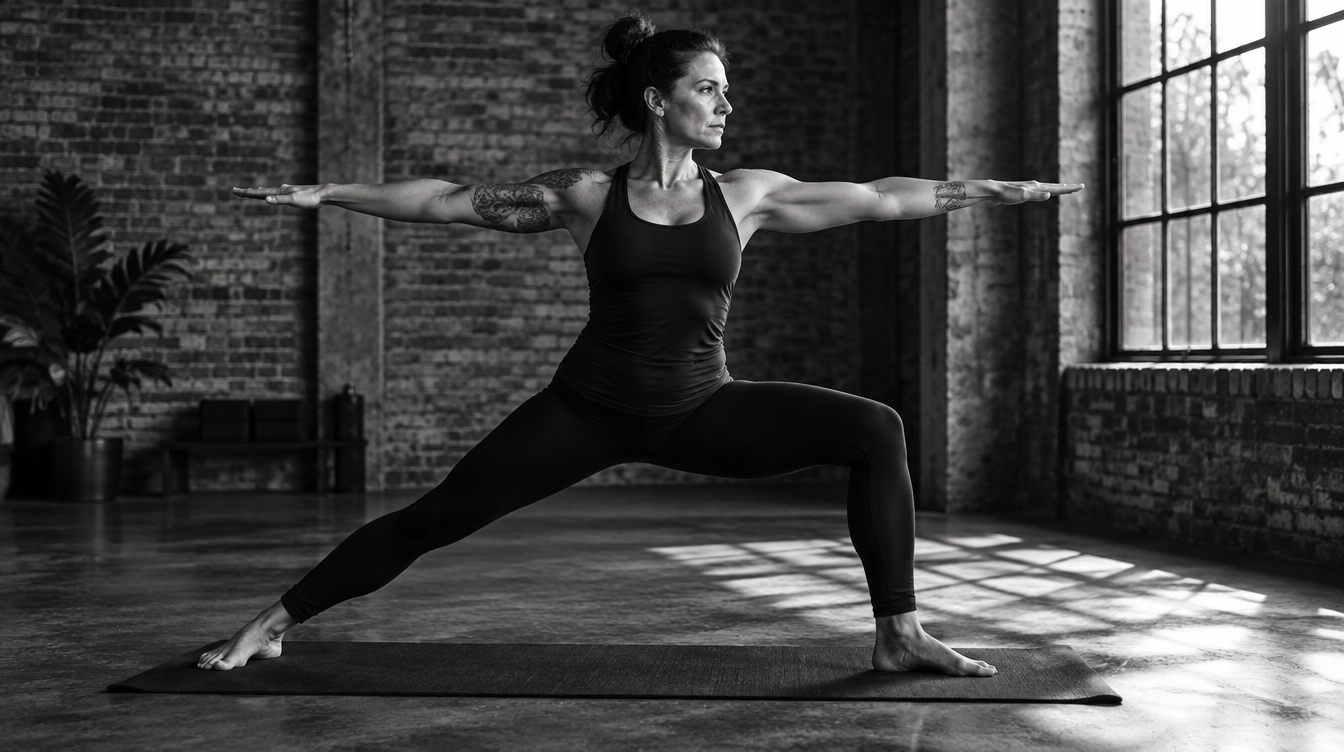
Warrior II looks straightforward: feet apart, one knee bent, arms out. Then you try it with stiff hips and discover that every cue seems to fight another. Turn the chest sideways, but keep the knee forward. Bend deeper, but stay upright.
The answer is not to force every part into a picture. Build a stance you can control, then adjust its length, width, and depth separately. A higher Warrior II is still Warrior II.
Build the pose from the floor up
Start standing near the middle of your mat, facing its long edge. Leave enough space to step your feet apart without landing beyond the mat.
- Step into a comfortably wide stance. Keep your hands on your hips while you organize your legs. There is no useful universal distance for every body.
- Turn your right foot toward the short end of the mat. Let the right thigh turn with it rather than twisting only the foot.
- Angle your left toes slightly inward. Keep the whole back foot in contact with the floor. Treat the angle as a starting point, not a measurement to pass.
- Bend the right knee a little. Aim it in roughly the same direction as the middle toes, with the knee approximately above the ankle.
- Bring your torso upright between your feet. Let your chest face generally toward the long edge without forcing your pelvis to match it exactly.
- Add the arms last. Reach them in opposite directions around shoulder height, palms down. Look over the front hand if your neck is comfortable; otherwise, keep your gaze more neutral.
Begin with a shallow bend. You can explore more depth once the feet and torso feel settled.
Foot position: use landmarks, not laws
Heel-to-arch is a starting option
A common instruction places the front heel on an imaginary line running through the back arch. Other teaching approaches use heel-to-heel alignment. That variation matters: yoga instruction does not offer one universally agreed footprint.
Try heel-to-arch first if it feels workable. If the stance feels like balancing on a narrow rail, experiment with a little more side-to-side space between the feet.
To understand the adjustment, imagine each foot standing on its own rail. Move those rails farther apart without necessarily increasing the distance from the front end of the mat to the back end. Straighten the front leg and reset your feet before bending again.
Length and width solve different problems
Length is the distance between your feet along the direction your front toes point. More length gives you room to explore a deeper front-knee bend, but also changes the demand on the legs and hips.
Width is the sideways distance between those imaginary rails. A little more width may make the position feel less cramped or precarious.
Change one variable at a time. If you lengthen, widen, and turn both feet together, it becomes difficult to tell which adjustment helped.
Keep the back foot involved
Notice whether you are rolling heavily onto one edge of the back foot or gripping the floor with your toes. Aim for broad contact through the heel and the bases of the big and little toes, without trying to distribute pressure perfectly.
If keeping that contact requires a struggle, reduce the front-knee bend and reconsider your stance. Forcing the back toes to a prescribed angle is not the goal.
Common mistakes—and practical corrections
Chasing a front thigh parallel to the floor
A deep Warrior II is a familiar demonstration, not an entry requirement. Reaching for that shape too soon can leave you leaning forward, losing foot contact, or holding your breath.
Raise the hips by bending the front knee less. If your stance then feels unnecessarily stretched out, shorten it slightly. The trade-off is less depth; the benefit is a position you can organize and assess.
Letting the front knee drift inward
Look down briefly. Is the knee pointing noticeably inside the direction of the front foot?
Ease out of the bend, then reset the front thigh and foot together. Bend again only as far as you can maintain their general direction. Do not shove the knee outward while leaving the foot fixed and hoping the rest sorts itself out.
Forcing the hips fully sideways
Trying to make both front hip points face the long edge can compete with the front leg's position, especially when available range is limited.
Allow the pelvis to turn somewhat toward the front foot. Keep the chest generally sideways, but skip the hard twist used to manufacture a more open-looking pose. The outline can be imperfect while the stance remains useful.
Reaching the torso over the front leg
The front hand can pull your attention—and your chest—forward. Bring the shoulders back over the pelvis rather than reaching farther toward the end of the mat.
Put your hands on your hips to check this. Once you can keep the torso upright, extend the arms again without moving the ribs forward.
Treating arm height as mandatory
If holding the arms up dominates the pose, lower them or keep your hands on your hips. That reduces the shoulder demand and lets you concentrate on the legs. Lift them again when you want to add that work back in.
Takeaway: test the stance, not your tolerance
Hold your first version for two or three ordinary breaths, then straighten the front leg, lower the arms, and reset. Practice the other side without demanding an identical stance.
On a second attempt, change just one thing: a shallower bend, slightly wider rails, or a different back-foot angle. Keep the adjustment if it improves your control and comfort—not simply because it looks more advanced.
Pain is not an alignment target. Come out rather than pushing through it, and ask a qualified professional about persistent pain or medical questions.
A workable Warrior II gives you room to breathe, feet you can keep grounded, and a front knee you can direct without wrestling your hips into place.
Sources
- The Five Most Common Alignment Mistakes in Warrior IIweb / yogainternational.com
- How to do warrior 2 foot placement and more yoga pose alignment tipsweb / dihickman.com
- Warrior 2 Pose: Learn How to Do It in Just 7 Steps | The Output by Pelotonweb / onepeloton.com
Build a durable practice around positions you can control, then add depth when it earns its place.
Get drop access