Yoga
Yoga for Runners: A Simple Post-Run Sequence for Hips and Calves
A short post-run yoga sequence for hips and calves, with clear setup cues, manageable holds, and options for tired legs. No forced range or recovery promises.
September 25, 2026
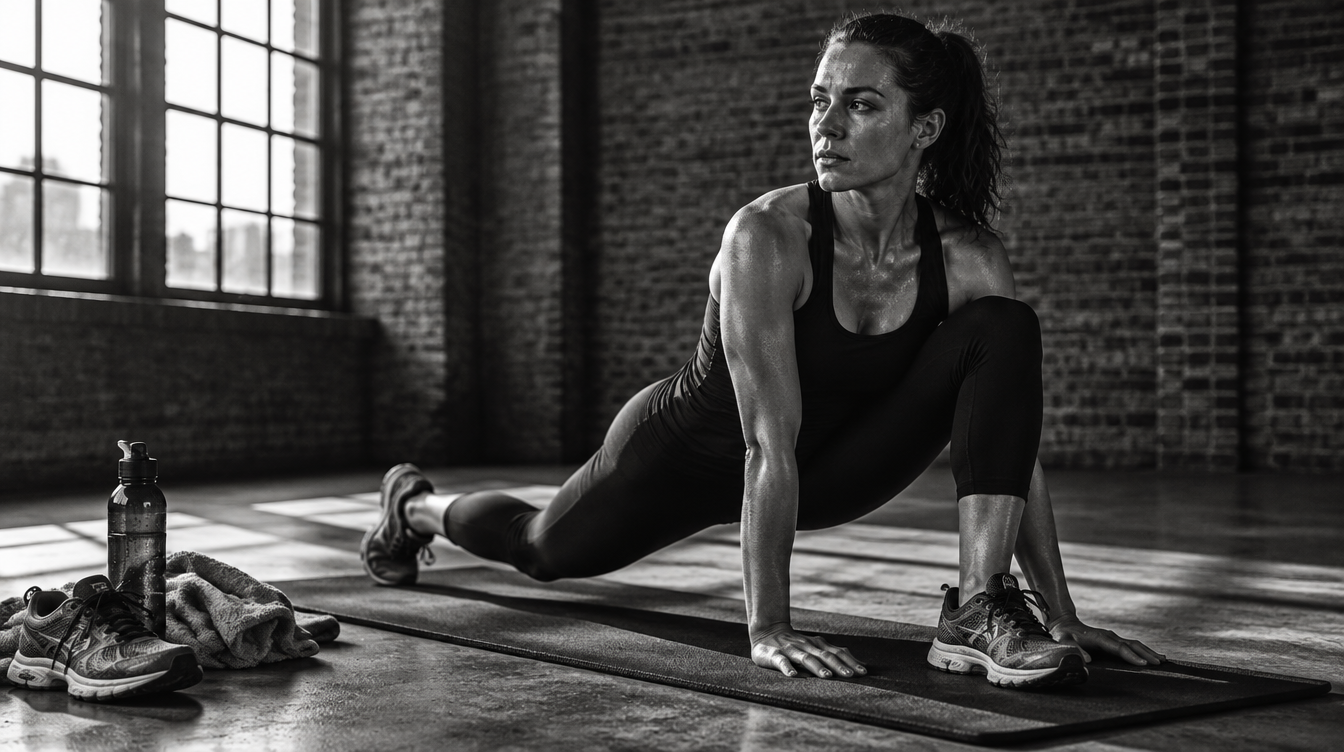
Your run is finished. Your calves feel worked, your hips feel stiff, and another demanding session is not the assignment. A short yoga sequence can give you time to explore comfortable movement without turning the cooldown into a flexibility test.
The goal is modest: move through a few supported positions, notice where you are holding tension, and finish without adding much effort. You do not need flat heels in downward dog or a deep lunge to make this useful.
What this sequence can—and cannot—do
Yoga gives runners a way to practice range of motion and body awareness. Post-run routines commonly focus on the hips, hamstrings, and calves, but that does not make them a shortcut to faster running or reliable protection against injury.
A stretch may feel good without meaning your muscles have recovered faster. Treat this as optional movement, not a debt owed after every run. After a demanding session, shortening or skipping it is reasonable.
Allow roughly eight to ten minutes, including transitions. The hold times below are practical starting points, not an optimal formula established for every runner.
Set up before you stretch
Walk until you feel ready to settle into quieter movement. Find a stable wall and enough floor space to lie down. Use a mat or folded towel under your back knee for the lunge.
Keep the stretch noticeable but manageable. You should be able to breathe normally without bracing your face or forcing a longer exhale. If you start working hard to maintain a position, reduce the range or leave it.
This sequence is not a way to diagnose or work through pain. Stop a position that hurts; ask a qualified healthcare professional about persistent pain or medical concerns.
The post-run sequence
1. Wall calf stretch: start upright
Time: about one minute per side.
Place your palms against a wall at chest height. Step one foot back, keeping both feet roughly pointed toward the wall. Bend the front knee and let the back heel stay grounded.
Keep the back leg comfortably straight for around 30 seconds. Move your body slightly toward the wall until you notice a stretch in that calf. A shorter stance is fine.
Then bring the back foot slightly closer and soften that knee for another 30 seconds, keeping the heel down. This changes the position of the calf stretch; it does not need to produce a stronger sensation.
Switch sides. Avoid bouncing or turning the back foot sharply outward just to reach farther. The wall supplies support so balance does not become another task for tired legs.
2. Downward-facing dog: heels can stay lifted
Time: 45–60 seconds, with a break if needed.
Come onto hands and knees. Spread your fingers, tuck your toes, and lift your hips back and up. Begin with bent knees rather than trying to straighten your legs immediately.
Press through your hands and let your torso lengthen. Gently straighten one knee while keeping the other bent, then change sides. After a few slow changes, settle into a comfortable position.
Your heels do not need to touch the floor. Forcing them down can turn a manageable stretch into a struggle. Choose a knee bend that lets you keep steady pressure through your hands without rounding yourself into a cramped shape.
If your wrists or shoulders are the limiting factor, skip this pose. The wall stretch already gives your calves attention; completing every position is not the point.
3. Low lunge: smaller than the photo version
Time: 45–60 seconds per side.
Lower onto hands and knees, then help one foot forward with your hand if needed. Place that foot far enough forward that the front shin is roughly upright. Rest the back knee on padding.
Bring your hands to your front thigh if that feels steady. Gently bring your pelvis toward level instead of tipping it forward and lifting your ribs. Move forward only a little, looking for a manageable stretch across the front of the back hip.
Keep your torso quiet. Sinking deeper while arching your lower back is a different movement, not necessarily a better hip stretch.
If kneeling is uncomfortable, use a short standing split stance with one hand against the wall. Keep your torso upright and make the same small pelvic adjustment. Change sides without rushing.
4. Reclined figure four: support the outer hip stretch
Time: 45–60 seconds per side.
Lie on your back with both knees bent and feet down. Rest your right ankle across your left thigh, above the knee.
Stay here if you already feel a stretch around the right outer hip. Otherwise, lift the left foot and hold behind the left thigh, drawing it toward you gradually. Keep your head resting down and your shoulders relaxed.
Do not push the crossed knee toward the floor. Let the position of your legs provide the stretch rather than using force at the knee.
Lower the supporting foot before uncrossing, then switch sides. Different ranges on each side are information, not a demand to make them match today.
Finish by checking, not chasing
Rest on your back with your knees bent and feet down for about a minute. Then roll to one side and stand at your own pace.
Notice whether walking feels more comfortable, unchanged, or more irritated. That response is more useful than how deep a pose looked. Next time, keep the positions that felt worthwhile and reduce or remove the ones that did not.
The grounded takeaway: post-run yoga should stay proportionate to the run you just completed. A few manageable holds are enough for this session; greater depth is not the finish line.
Sources
- Yoga Poses for Runners | REI Expert Adviceweb / rei.com
- Post-run Yoga Routineweb / acefitness.org
- Yoga for Runners: 6 Exercises for Greater Flexibilityweb / blackroll.com
Build a durable practice with Breath Metal, keeping the work useful and the setup simple.
Get drop access